 This is a drink which is an invention born of Mother Necessity. Last weekend, our family met up with my best friend's family and my brother in-law's family for an afternoon of fun at the local apple orchard. One thing led to another, and we decided to all make the trek back to our place for pizza and beer. Alas, our beer supply was pitifully low... so I went about trying to find a drink to fill in if necessary. The Orchard Cooler was born. First try. Yes, I'm impressed too. There are precious few ingredients in this drink, so they NEED to be top quality. The pear brandy I used was a souvenir from our vacation to Portland, two summe
 rs ago. It was distilled here. (On a side note, Edgefield is pretty much the most amazing destination we've ever been to... our 9 year old is still talking about it weekly, over a year later.) The cider is pressed at a local MN orchard. You do NOT want the completely clear, tasteless cider that you will find on the store shelves. This time of year, you should be able to find good cider in the produce or refrigerated section at your grocery store. Better yet, if you're able -- buy directly from the orchard that presses the cider.
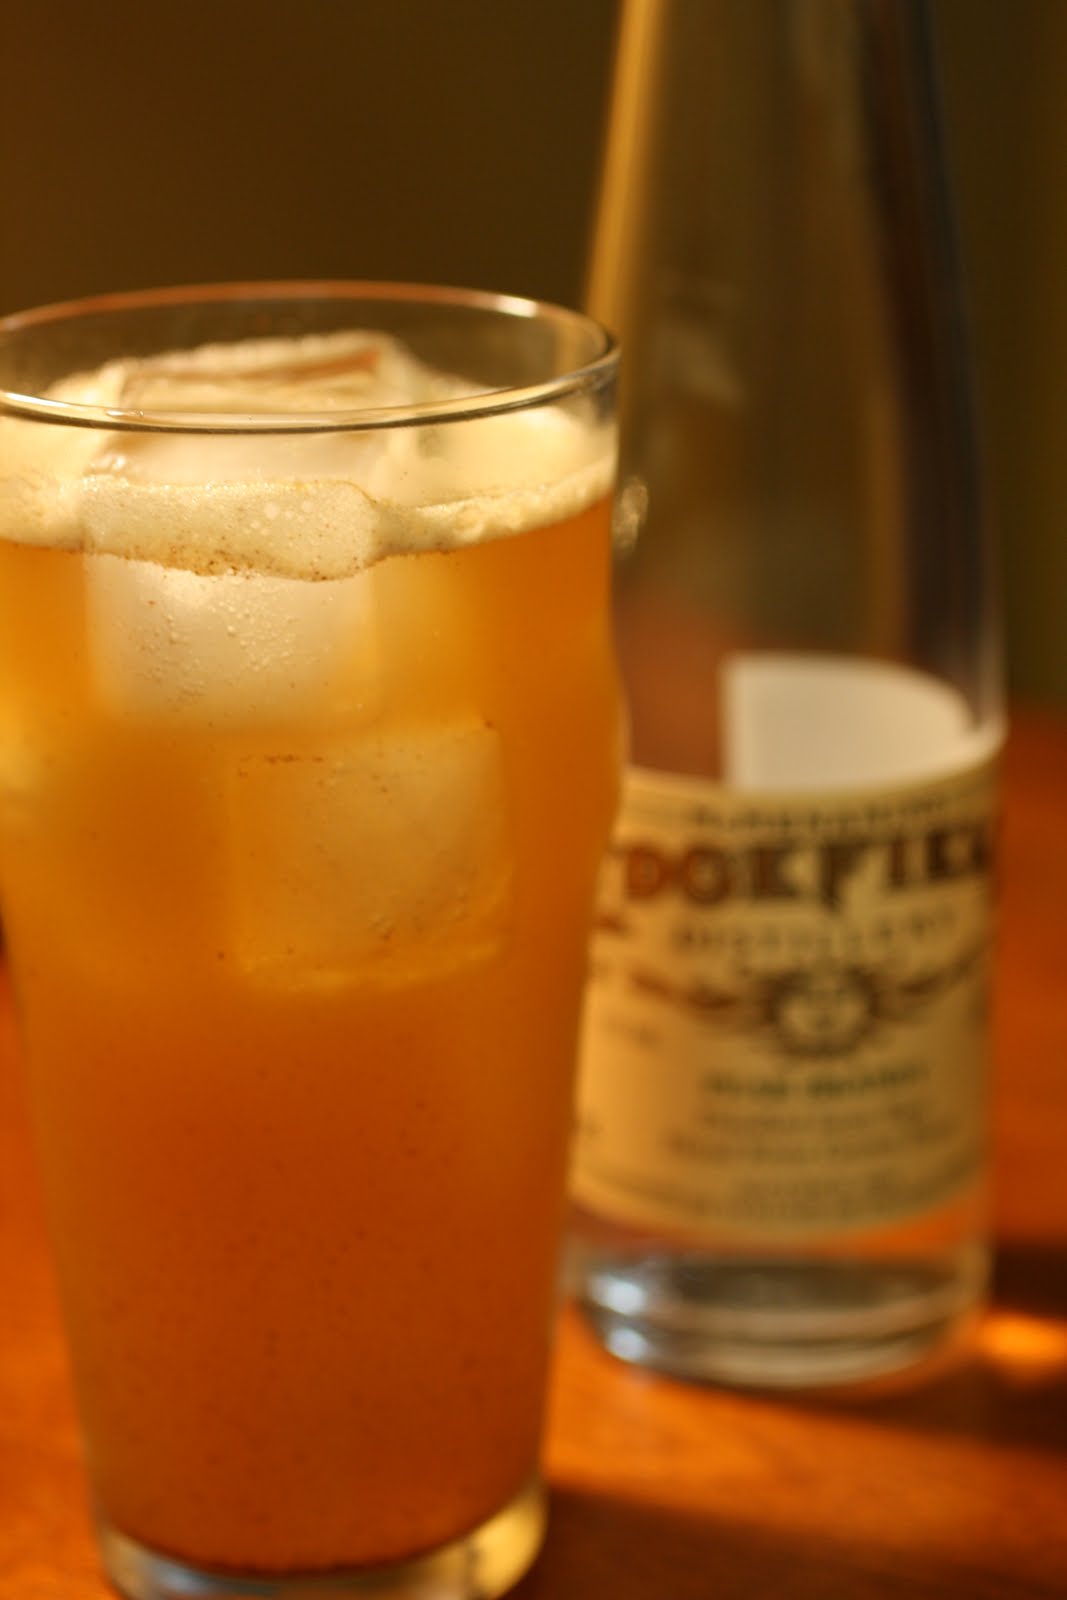
Ingredients:
1.5 oz high quality pear brandy
3 dashes cinnamon
small pinch nutmeg
about 8 oz. fresh apple cider
In a coctail shaker, combine all ingredients. Shake well until well mixed and foamy. Pour into pub glass filled with ice. Garnish with a cinnamon stick, if desired/available.
We just drank these straight up, but I bet they would be amazing with homemade pretzels, or buttered popcorn.


